How to Set Up Automatic Recording with Meetbook
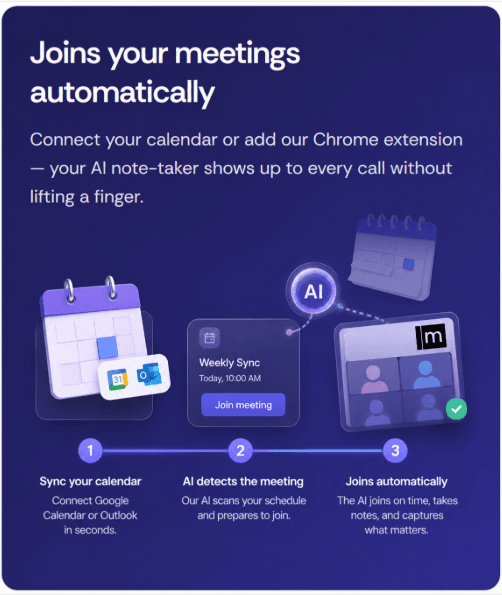
Step 1: Connect Calendar
Navigate to your Meetbook Dashboard. Locate the Connect button within the calendar integration section and click it.

Step 2: Choose Your Preferred Calendar
A dialog box will appear. Select either Outlook or Google Calendar depending on which service you use for your professional meetings.
Step 3: Authorize Your Account
If you selected Google Calendar, a secure Google sign-in window will open. Choose your preferred account and click Allow to grant Meetbook permission to view and sync your upcoming events.

Step 4: Confirm Your Connection
After granting permission, you will be redirected back to Meetbook. A confirmation message will appear to let you know your Calendar is successfully connected.
Step 5: Set Upcoming Meeting
Go to Calendar Tab and click on the create event button and set the timing and details of the upcoming meeting and then click on the Create Meeting button. It will redirect you to the google calendar/Outlook Calendar based on the calendar you connected.
 ](https://storage.crisp.chat/users/helpdesk/website/-/e/8/3/e/e83eed7a24404000/4_11vmi8n.jpg)
Step 6: Configure meeting in calendar
At google calendar or outlook calendar complete the details of the meet and add the google meet link.

Step 7: Admit Bot
You are all set ! Admit the bot waiting at the meeting lobby when the meet starts and done the recording will be started.

Step 8: Accessing Recorded Meetings
On the sidebar of dashboard, click on the My Meetings tab, this will open the list of all recorded meetings.Click on the most recent meeting to view it's summary, recording, action items etc.


